


Meet my sourdough starter, Betty. She's healthy, she's tasty, and your gut will love her bread.


After spending a summer living and working in Alaska, a state whose citizens are abnormally obsessed with sourdough, I had a desire to learn how to harvest the wild yeasts and master this fascinating fermentation process. In my first months' post-frontier life with a real kitchen, I began my first starter. Not realizing you are supposed to discard the discard, it wasn’t long before I was up to my ears in jars upon bowls starters that all soon turned rotten.
Years later, I resumed the hobby after learning the basics of bread making. Last year, in 2020 when everything shut down, I wanted to jump back on that sourdough train then. However, with the flour and yeast shortages that continued for most of my time in quarantine, I couldn’t guarantee any new sourdough baby I birthed would survive. I didn’t want to bring a new sourdough baby into the world only for it to starve! When flour started hitting the shelves again, I decided it was time to try once more, so in June of 2020, Betty was born.
Betty is my starter, and now, she is about ten months old. She bubbles up robustly when she is fed and has that pungent sour smell of a well-aged rye starter. She also makes a killer overnight slow-rise loaf, my favorite weekend hobby.
Sourdough has been around for thousands of years, at least, and is the oldest recorded type of leavened bread, probably having its origins in Egypt around 1500 BC. It produces lactic acid bacteria, which is the source of that tangy taste, and also helps kill the unwanted bacteria while preserving all those good, gut-friendly prebiotics. It is a good source of magnesium, calcium, potassium, folate, and niacin, as well as antioxidants.
Studies have found more than 50 species of lactic acid bacteria that can develop in sourdough and more than 20 species of wild yeasts. Exactly which species of bacteria and yeast develop in your starter depends on different variables, including the type of flour used to feed the starter and the environment and climate you’re growing it in.
San Francisco sourdough is perhaps the most famous, as it has a distinct tangy taste that is unlike sourdough from any other region. It was brought to the area with the gold rush of the mid-1800s, and prospectors discovered the extraordinary taste their bread would develop from growing specifically in the Bay Area.
Later that century, the Klondike Gold Rush brought sourdough to Alaska, where traditional leavening agents like yeast and baking soda didn’t fare so well in the extremely harsh conditions. Early prospectors and miners were known to keep their starters around their necks or hanging on their belts, as keeping it warm with their body heat was thought to prevent it from freezing. (In reality, freezing doesn’t kill starters as much as excessive heat does).
Today, the nickname “sourdough” is given to Alaskan old-timers, and if you’ve ever traveled there, you probably heard that word a dozen or so times. There are even long-time Alaskan families that have sourdough starters that were literally born in those early gold rush days, making my Betty look like just a baby. If you ever find yourself around Denali National Park, Rose’s Cafe in Healy has some of the best sourdough toast I had during my tenure there. (11/10, would eat every day forever)
So what exactly are the health benefits of sourdough?
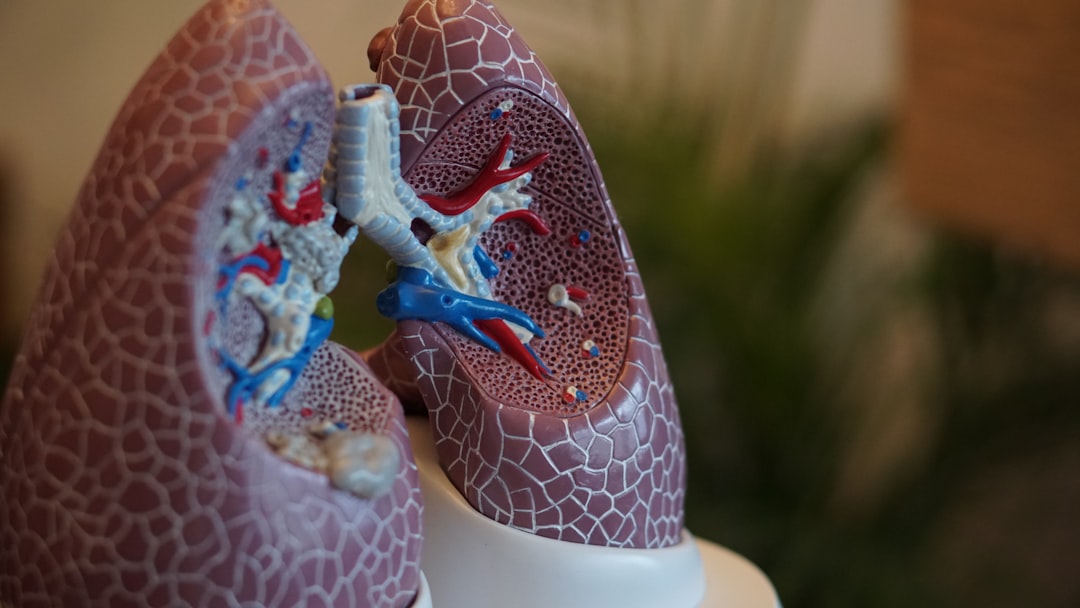
Sourdough has prebiotics. Sourdough is great, gut-friendly bread. While it doesn’t have probiotics as many people say, it is loaded with prebiotics. There are probiotics in the starter, but those are killed off after baking it at high temperatures, leaving only the prebiotics, which is a type of soluble fiber that basically acts as a fertilizer for your good gut bacteria.
Sourdough has a lower glycemic index. The glycemic index of food tells you how fast your body will take that food and turn it into glucose, or blood sugar. Many standard breads have a higher glycemic index rating, while sourdoughs are considerably lower. This means that your blood sugar and insulin levels won’t spike after eating a slice of sourdough, the way it would after eating a slice of wonderbread.
Sourdough is easy to digest for those that are sensitive to gluten. The lactic acid bacteria in sourdough eats away at the gluten during its lengthy fermentation process, so sourdough actually has considerably less gluten than standard bread (here’s a lab study that looked at that). Many people with gluten intolerance or gluten sensitivity claim that sourdough easier on the stomach and actually digestible.
In this study, people with actual celiac disease on a gluten-free diet were fed either regular wheat bread, sourdough that was partially fermented, or sourdough that was fermented so there was only less than 8ppm of residual gluten (this was done in a lab, not a home kitchen, by the way). After sixty days, the third group reported no symptoms nor had any negative side-effects in their blood work or intestinal biopsies, while the first two groups had negative reactions to the gluten.
While sourdough is low in gluten, it is not gluten-free. Those with celiac disease should still remain gluten-free as the study I mentioned before was done under careful medical supervision using bread that was tested in labs.
So how do you make your own Betty?
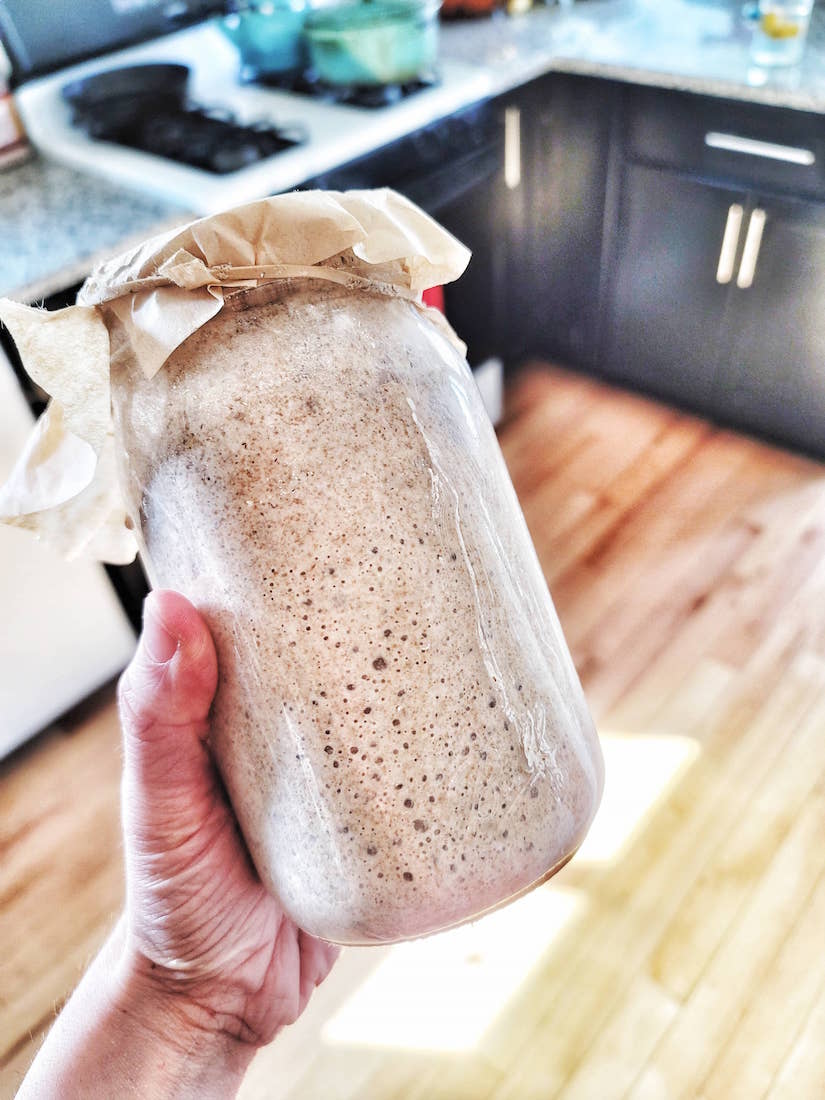
*blurp*
If I have you convinced by now, it’s probably time you birth your own Betty.
There are many ways you can make your starter using all different kinds of flours (you can even do an actual gluten-free starter using Buckwheat, check out the instructions here). I am partial to my rye starter, so I’ll share with you what I do, then I’ll share an easy, basic sourdough loaf recipe that anyone can master.
Day one.
Mix 100 grams of rye flour and 100 grams of warm water in a glass jar. You can even sprinkle a bit of sugar in here to really get her going, but it’s not necessary. Cover with a coffee filter and rubber band for airflow. Leave at room temperature overnight.
Day two.
Mix another 100 grams of rye flour and 100 grams of warm water, add in about half of the mixture from the day before, discarding the rest. Leave overnight.
Days three to seven (or so).
Repeat the process from day two. As your starter ages, you will see bubbles begin to develop, a rise and fall happen along the sides of your jar, as a pungent, sour smell begins to develop.
After you are seeing a good rise happen, you can store your starter in the fridge, just taking her out once a week or so to feed her. If they are stored properly, starters are resilient and can last a long time. If you see a black-ish water begin to gather on the surface of your starter, that means she is hungry and it’s time for a feeding.
Thoughts on feeding.
Some bakers swear up and down that you have to weigh the ingredients when feeding and baking with sourdough. While I usually do use a kitchen scale when baking certain things, I usually don’t get this precise when feeding my starter. I did when I was first getting her going last summer, but my Betty is resilient at this point, so I just measure about one cup of rye flour and slightly less than a cup of warm water. You’ll get used to what your starter is supposed to look and feel like, but generally, you are looking for a pancake batter-like consistency. If it’s too thick and hard to stir, add a bit more water. If it’s really runny, add a tiny bit more flour. To this amateur but passionate sourdough baker, the key is just getting to know your baby.
And now to bake…
Easiest Ever No-Kneading Required Overnight Sourdough Loaf.
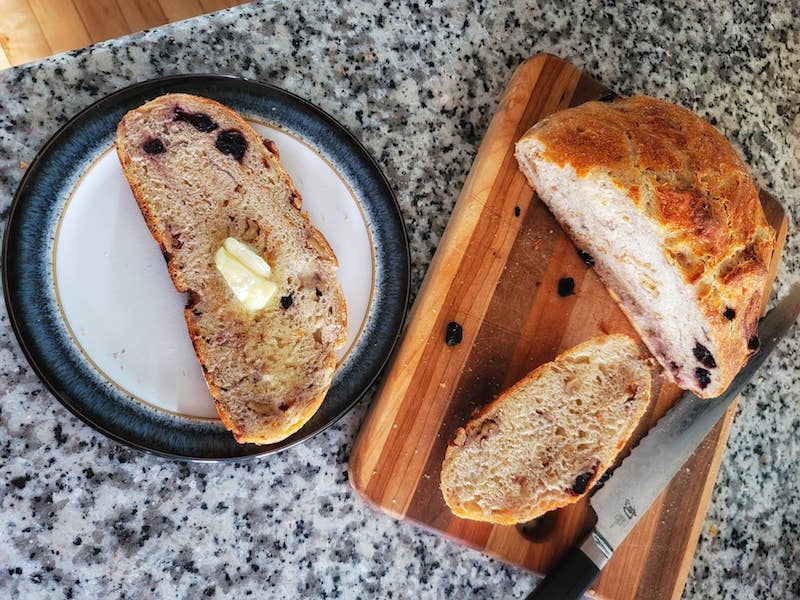
This one has dried blueberries, walnuts, and flax seeds. Yum, much?
Get your starter ready.
Take your starter out of the fridge the morning before you want your bread. I’ve found that feeding a starter twice the day you want to start making your bread works best, but that could potentially be due to the climate I live in.
You’ll want your starter to about double in size when you’re ready to bake. To measure how much she’s rising, take a rubber band and wrap it around the jar, marking the level she’s at when you first feed her. Then watch over the course of the next four hours to see how much she grows.
To test if she's ready, take a teaspoon of starter and drop it into a bowl of water. If she floats, she’s ready. If she sinks, she won’t rise a loaf.
Feed it once in the morning, then once in the evening.
The second feeding I aim to do at about 6 pm so that I can mix up the dough at 10 pm right before bed to bake the next morning.
Mix up your dough.
Ingredients
Bread base:
- 150 grams active starter (from before)
- 1.25 cups filtered water (room temperature)
- 4 cups white bread flour (you can also do part wheat flour, you’ll just want to add a little extra water)
- 2 teaspoons sea salt
Add "the fun":
You can also add things like seeds, nuts, dried fruits, herbs, garlic, mushrooms, roasted red pepper, etc. Go wild here, the sky is the limit.
Winning Combination ideas for "the fun":
- Jalepenos and cheddar (my husband's favorite ever)
- Olives, feta, herbs
- Walnuts, dried blueberries, flax
- Flax seeds, pumpkin seeds, dried cranberries
- Rosemary, roasted garlic, roasted red peppers
- Mushrooms, garlic, mixed herbs
(For real though, get creative here.)
Get Mixing
Mix everything together in a bowl until you get a wet, shaggy dough. I do this with my hands, but I tell you what, it’s messy.
Cover with a damp towel and leave overnight at room temperature, or stick in the fridge for closer to 12 hours.
The next morning…
The dough should have almost doubled overnight.
Sprinkle a little flour on your workspace and scrape the dough out of the bowl. Don’t punch it down.
Shape the dough into a rectangle, then fold into three sections, first the long way, then as best as you can the short way, eventually working it into a tight ball and tucking the edges underneath.
Put a piece of composting parchment paper in a banneton, or proofing basket, (or a bowl, if you don’t have a banneton), dust with flour, and set your dough inside. Cover loosely and let it rise again for 30-minutes to a couple of hours.
Score the top of the bread with a sharp knife. You can draw pretty pictures if you want, but mine never turn out well.
During this second rise, preheat your oven to 450-degrees Fahrenheit with a Dutch oven or other lidded pot inside. When the oven is preheated, carefully take the pot out, put the bread inside, parchment paper and all, stick the lid back on and stick it in the oven.
Bake for 20 minutes.
Reduce heat to 425F, bake another 20-25 minutes with the lid off.
Take the bread out of the oven, immediately remove it from the pot, and let it cool on a wire rack before serving.
Some people say let it cool all day, but I say warm bread is the best, so dig in.


If you enjoyed this article or recipe, please consider giving it a comment! It helps others discover my blog and recipes, and your comments always make my day :) Thank you for your support!
Your email address will not be published. Required fields are marked *